I am going to guess that you, like me, most likely that all of your baby’s medicines are cluttered onto some shelf or scattered in multiple bags.
Or maybe you’re using a bunch of ziplock baggies to keep it all together, only to find yourself unable to locate it when it’s needed most.
Well, I tried both alternatives of storage, and finally decided to do something about my growing mess.
To be honest, I kept most of my baby’s medicine bottles in our diaper bag, and I found it super convenient especially when we would be out.
That is how this idea came about. I wanted to be able to carry all of the medicines around with me, neatly.
Yes, I’m that kind of mom.
My diaper bag is HUGE and probably filled with things I don’t use very often, but it’s all there just in case!
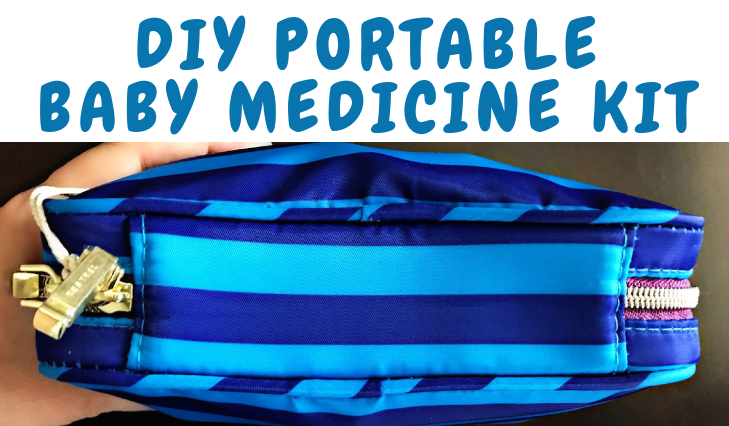
Pin it!

Disclosure: I have included affiliate links to products that I have used and enjoyed. These are for your convenience. I do receive a small percentage of every purchase without any increase to your own price.
What You’ll Need:
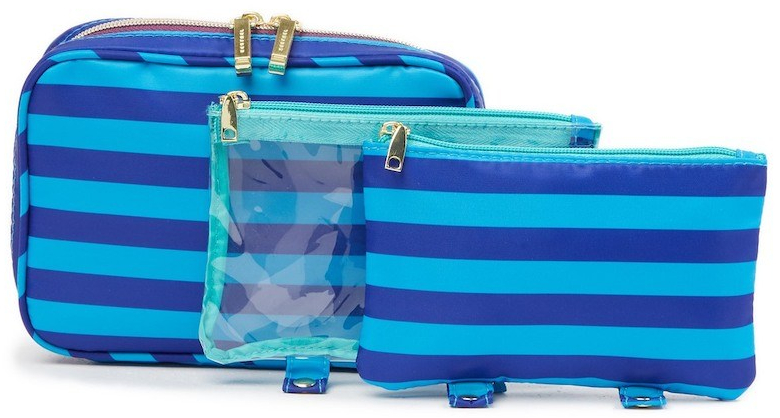
– a cute Makeup Bag (Make sure it is big enough to fit all you would like to carry around, I used this cute bag I found at Nordstrom Rack for $11.97.)
– your baby’s Health Care Essentials (this is entirely up to you; my kit consisted of Infant’s Tylenol, Infant’s Motrin, Mylicon Gas Drops, Gripe Water, Vitamin D Drops, Saline Drops, Nose Frida Snot Sucker with Filters, Nail Clippers, Nail Care Kit (*optional*), and Teething Tablets)
– Reinforcement Labels and Pens

Instructions:
1. Make labels for each of the syringes using the reinforcement labels and pens.
I had these on hand, however, if you don’t you could find them at any Walmart or office store.
Or just get them on Amazon!

2. Place the labels onto their appropriate syringes.
The reason why these work so well is because they’re just the right size for the top of the syringe.

3. Start packing in your essentials.
Pack according to your own preference especially if you are using another type of bag.
This is how I packed mine:
I placed the syringes where the brushes usually go.
You can see how the labels help easily identify each syringe from the top view.

Then I placed the medicine bottles into the clear insert, right next to the syringes for convenience.
Now, this is why I really like this bag.
You can see by the picture how the inserts are versatile.
There are buttons at the bottom of each inset that allows you to interchange their positions.

In the next insert, I placed the nail care kit, nail clippers, and the teething tablets.

Finally, in the last pocket, I put all of my baby’s nose cleaning essentials!
I still can’t believe it all fit!

There you have it!
Your own medicine kit.
Cute and convenient!
I will add that mine was a little stuffed, but that was my choice, so you could definitely choose to pack fewer items or go for a larger bag.

Thanks for checking in on what’s happening here!
For more mom tips, tricks, hacks, and ideas and be sure to subscribe to my email list and follow me on Pinterest!
Until next time mommas!
![]()
Don’t forget to pin it for later!
